
This is the screen you will see now.
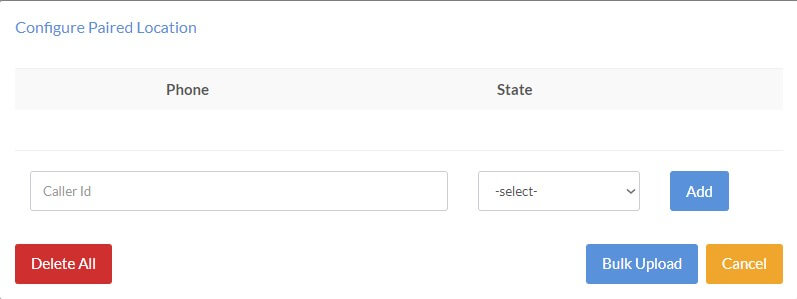
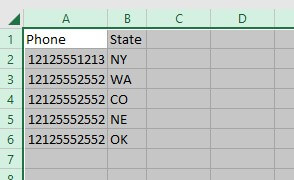
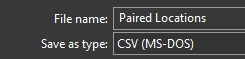
You can enter each number in one-by-one and hit add, or bulk upload a CSV file. To add them one at a time, enter the phone number and select the state that goes to the number and hit Add. If you want to upload a CSV file, make sure the file looks like the example below and that it's saved as a CSV (MS-DOS)
Once you have selected the CSV file for bulk upload, the screen should look like this.
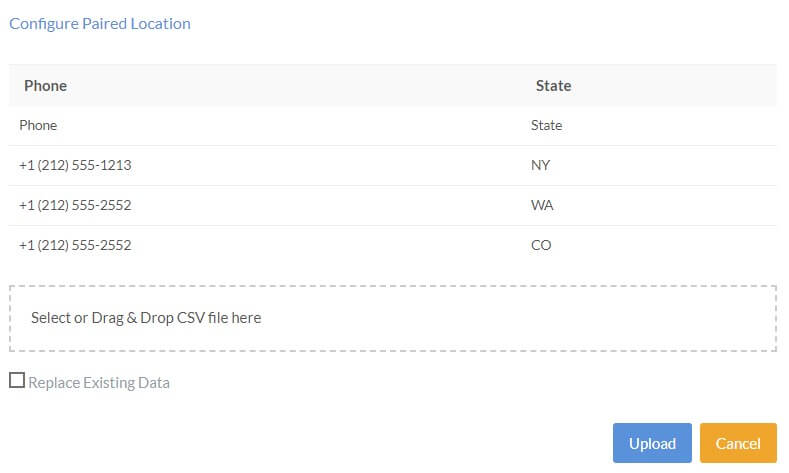
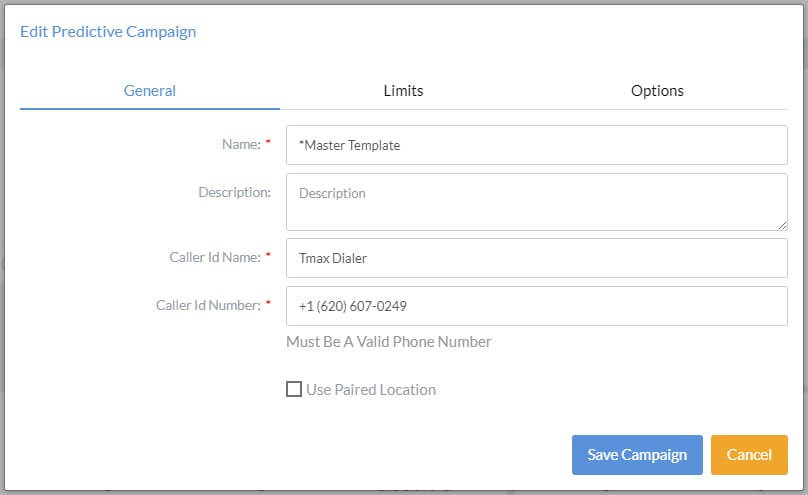
Now just hit the upload button. You'll receive an email after the upload is completed. Now you just need to enable the Paired Location on the campaigns you want to use it on. Go to the Campaigns screen and click the pencil icon to edit the properties. You will see this screen, just check Use Paired Location and hit Save.
That's it, you are now setup for using Paired Locations!
