To activate the screen pop webservice you will need Collections MAX Professional version 3.1 or higher.
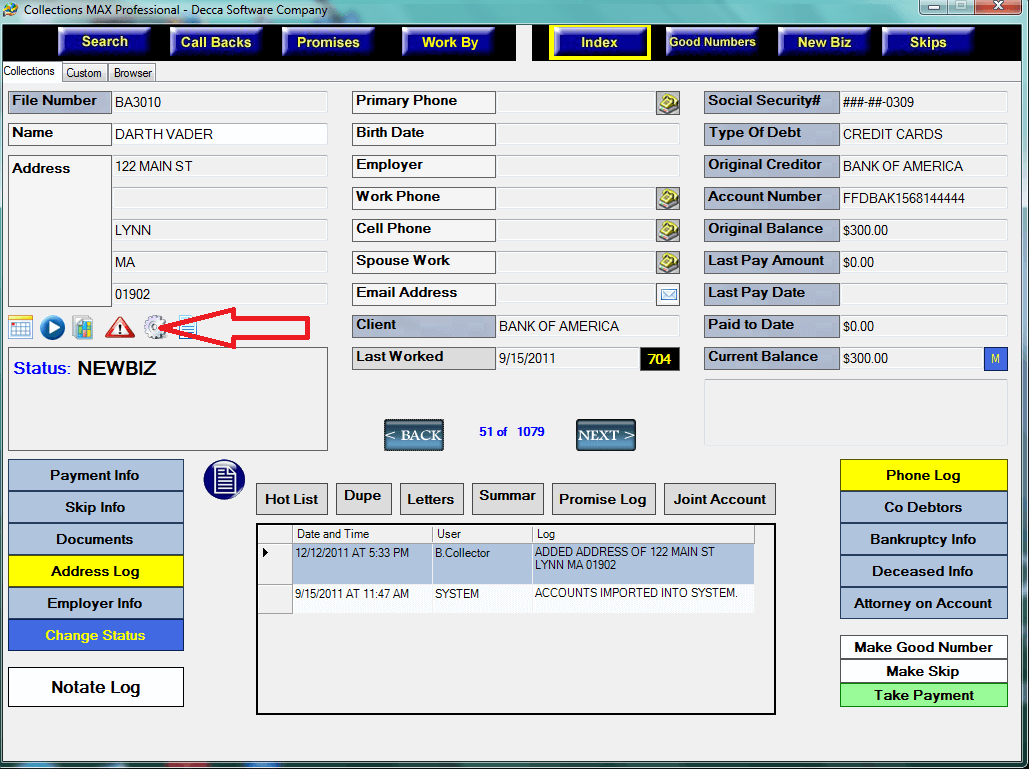
First….click on the gear icon under the zip code (settings) and enter an Administrator Password.
You will then see the Settings screen like below. Click the Click Here to Setup button to begin setup.
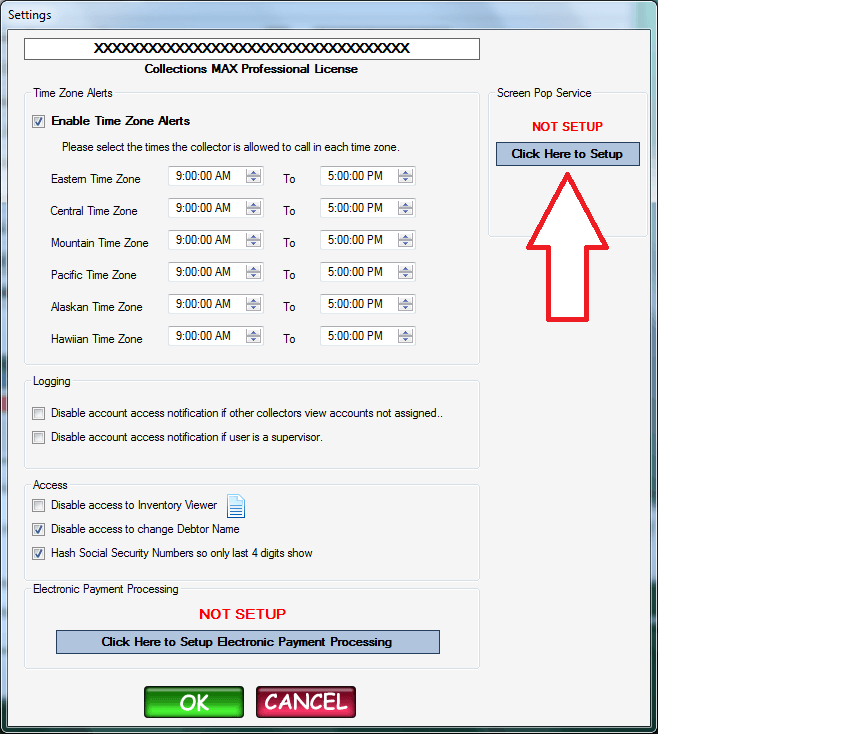
You will then see the Settings screen like below. Click the Click Here to Setup button to begin setup.
Now you will see the following screen. You will need to paste the Screen Pop Activation Key that you purchased from our online license manager into the Activation Key
box and create a User ID. The User ID you create can be anything up to 4 digits and must be unique for each user.
Both of these settings will be part of the url that your dialer will need to send when a call has been placed.
Please note that activation keys for the screen pop service are not the same as license keys from other Collections MAX products and need to be purchased seperately.
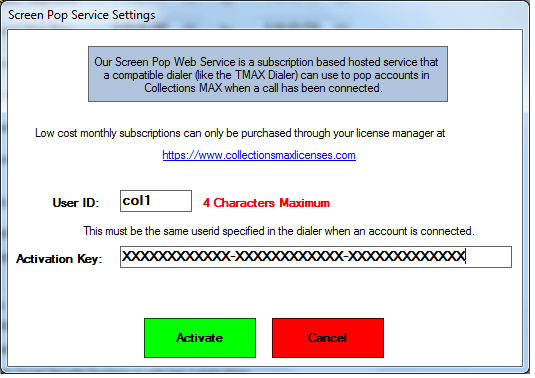
Click the Activate button…and if your Activation Key is correct and you are connected to the internet the service should now be activated.
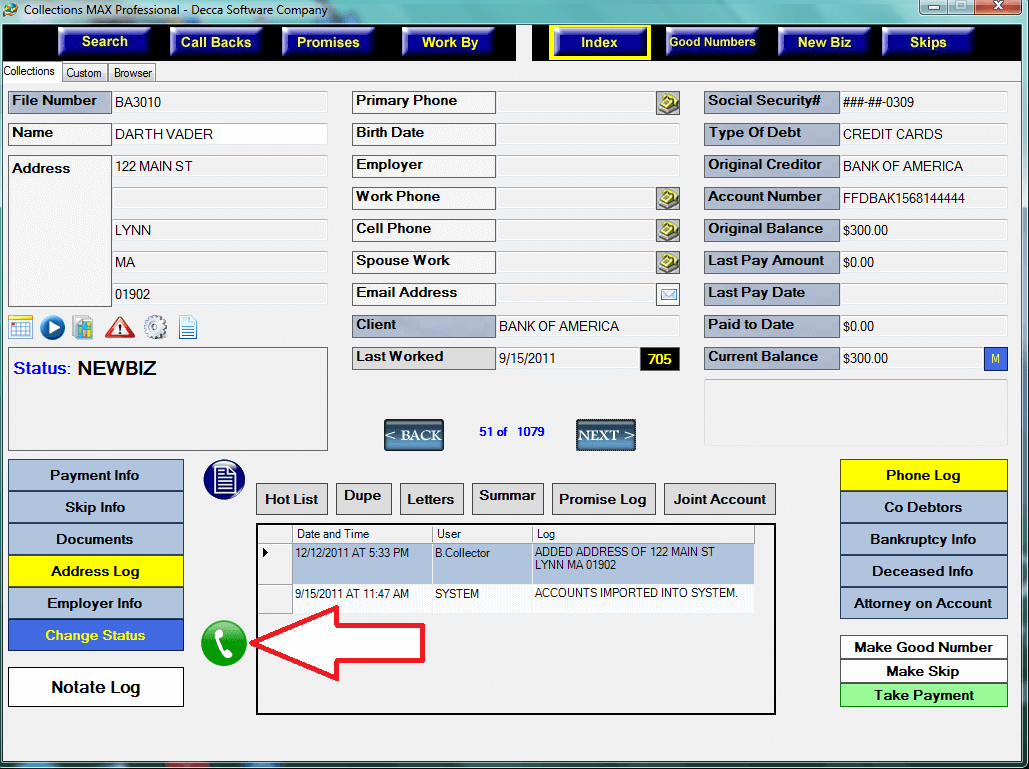
Close out the settings dialog and the Main screen in Collections MAX Professional should now have the screen pop button that the collector needs to click before placing a call with the dialer as shown below.

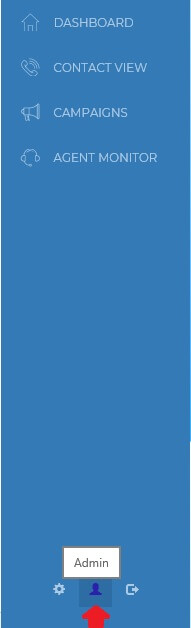
Log into T-Max dialer to input the settings for the collector so the T-Max Dialer can communicate with the Screen Pop Web Service. Once you are logged in to T-Max Dialer you will need to click on the Admin button located at the bottom of the screen.
Now you want to open the collector you set up in Collections Max, and edit their properties. Click on the pencil icon to access the settings.
The following screen is where you will input the Screen Pop settings. The POST Url: Field is where you will post the following information.
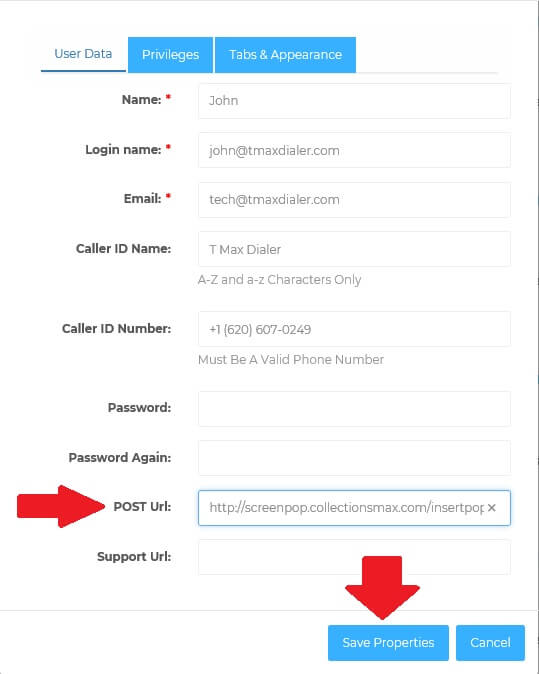
In the Post Url box type in: http://screenpop.collectionsmax.com/insertpop.php?userid=XXXX&key=XXXXXXXXXXXX-XXXXXXXXXXXX-XXXXXXXXXXXX&accountid=#{Id}
The user id code in RED is where you will input the 4 digit user ID you assigned to the collector in Collections Max. The key field marked in GREEN is where you will enter your Screen Pop Activation Key. Once you have this all filled out, click Save Properties.
The Screen Pop Service can now communicate with T-Max Dialer and Communications. Make sure the collector Logs off of the dialer and back on to enable the new settings.
Once setup a collector simply needs to click on the green phone icon as show below and a blue pop up screen will appear.
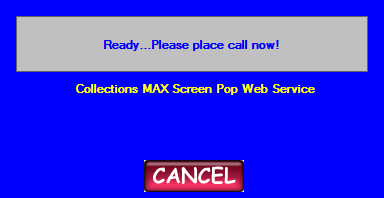
The blue screen pop will show the status of the software connecting to the screen pop server.
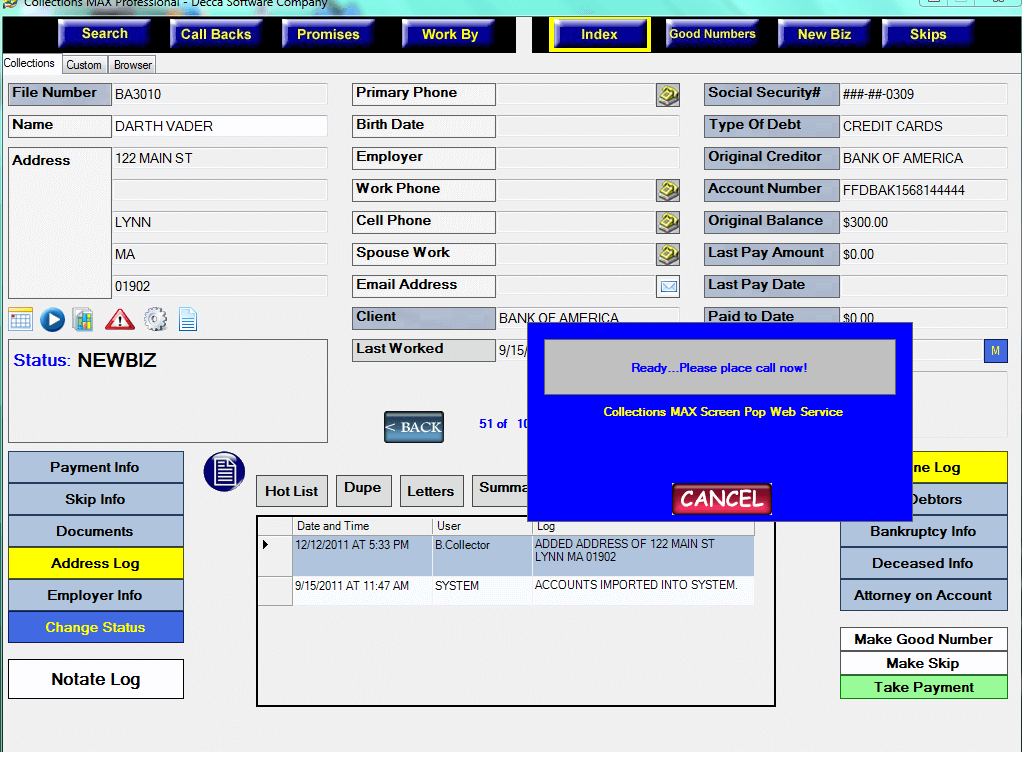
Once this blue pop up screen appears it will connect to the screen pop server and begin to wait for a server response. When it reads “Ready Please place call now!” the collector can start the auto dialer system. This pop up screen automatically terminates after 30 seconds if no call is received to reduce the strain on our servers.
When the auto dialer connects to the call and sends our server the http GET request the software will automatically pop the account (usually less than one second) and the blue pop up screen will disappear. The collector simply needs to repeat the process for additional calls.

The blue screen pop will show the status of the software connecting to the screen pop server.
Once this blue pop up screen appears it will connect to the screen pop server and begin to wait for a server response. When it reads “Ready Please place call now!” the collector can start the auto dialer system. This pop up screen automatically terminates after 30 seconds if no call is received to reduce the strain on our servers.
When the auto dialer connects to the call and sends our server the http GET request the software will automatically pop the account (usually less than one second) and the blue pop up screen will disappear. The collector simply needs to repeat the process for additional calls.
